






Why Your Portable Ultrasound Images Look Poor — 8 Fixable Habits
- 2026-11-04
- 28
- Guangzhou Sonostar Technologies Co., Limited
Here is a pattern we see repeatedly in training sessions: two clinics buy similar equipment. Six months later, one produces consistently clean, diagnostic-quality images; the other's scans look washed out and grainy. The devices are the same. The habits are not.
This guide covers the eight habits that explain most of that gap. Each follows the same structure: what the bad image looks like, why it happens, and the correction. None of it requires touching clinical interpretation — this is entirely about producing a good image, not reading one.
If you are completely new to handheld scanning, start with our beginner's guide to using a handheld ultrasound, then come back to this one — it is written for people who can scan, but keep getting images they are not happy with. And if you have ever wondered why the device itself is so small, our explanation of what is inside a wireless probe pairs well with this article.
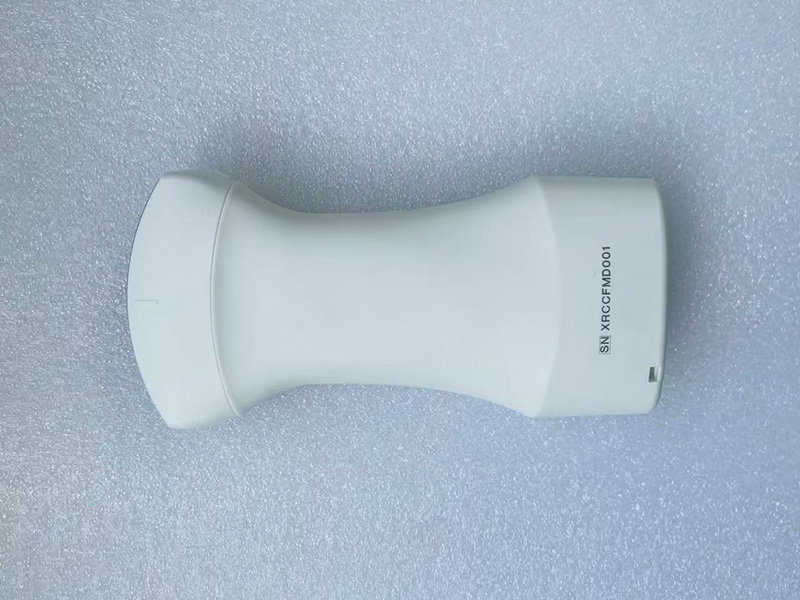
On the patient side
1. Not enough coupling gel
Symptom: a dark band or total dropout on one side of the image, or a shadow that moves with the probe face.
Why: ultrasound barely travels through air. Any air gap between the probe lens and the skin — a dry patch, a hair bubble, a tilted edge — reflects the sound away before it ever reaches the tissue.
Fix: be generous with gel. Apply a visible layer, press the probe face flat against the skin so the entire lens is in contact, and add more gel rather than pressing harder when the image drops out. Check the probe face for dried gel residue — a common and invisible culprit.
2. The wrong probe for the depth
Symptom: superficial structures look sharp but anything deeper is a grey blur — or the reverse, a deep view with no fine detail at all.
Why: frequency is a trade-off, and no probe escapes it. Higher-frequency probes resolve fine detail close to the surface but cannot reach deep; lower-frequency probes reach the abdomen but lose fine texture. This is physics, not a defect.
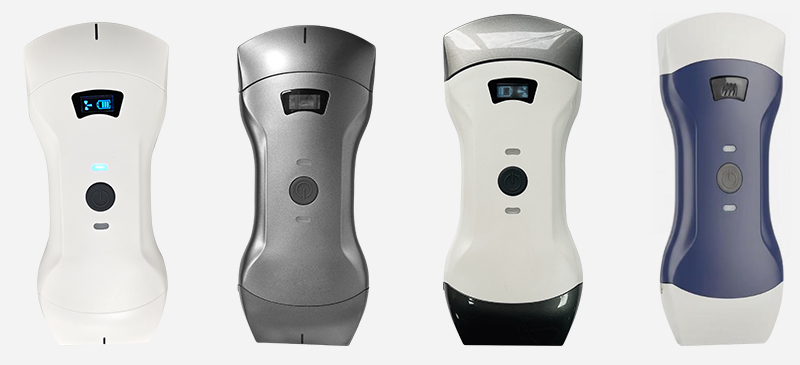
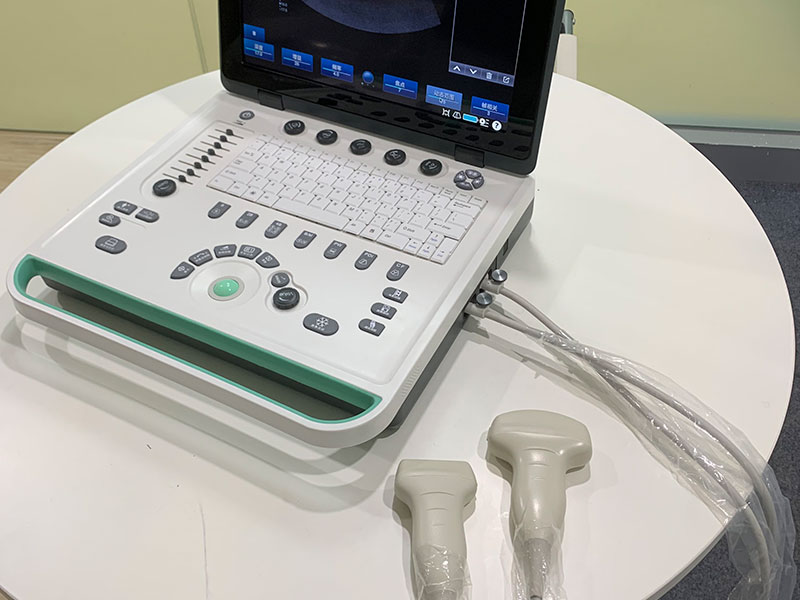
Fix: match the probe to the exam. A high-frequency linear probe for veins, tendons, and superficial masses; a lower-frequency convex probe for abdominal depth. If one device has to cover both, a combined multi-array probe is the practical compromise — see our three-in-one probe design for how that works.
3. Depth set wrong for the target
Symptom: the structure of interest is squeezed at the very top of the screen with dead space below — or cut off at the bottom edge.
Why: depth is often set once and forgotten. But the right depth differs between a thyroid exam and an abdominal view, and a badly framed image wastes most of the screen on tissue you do not need.
Fix: adjust depth so the region of interest sits in the centre two-thirds of the screen. Reset it whenever you switch exam type — most devices remember per-preset, so taking five seconds to set it once makes every subsequent scan faster.
4. Moving the probe too fast
Symptom: smearing, double edges, and a feeling that the image "can't keep up" — especially when searching for a window.
Why: the image updates in real time, but the operator's eye needs a moment to register anatomy. Fast sweeping produces frames nobody had time to look at.
Fix: slow, small movements — millimetres, not centimetres — with brief pauses. Brace the scanning hand on the patient where possible to steady it. When you find a good window, stop, freeze, and only then fine-tune. Speed comes from knowing where to look, not from moving quickly.
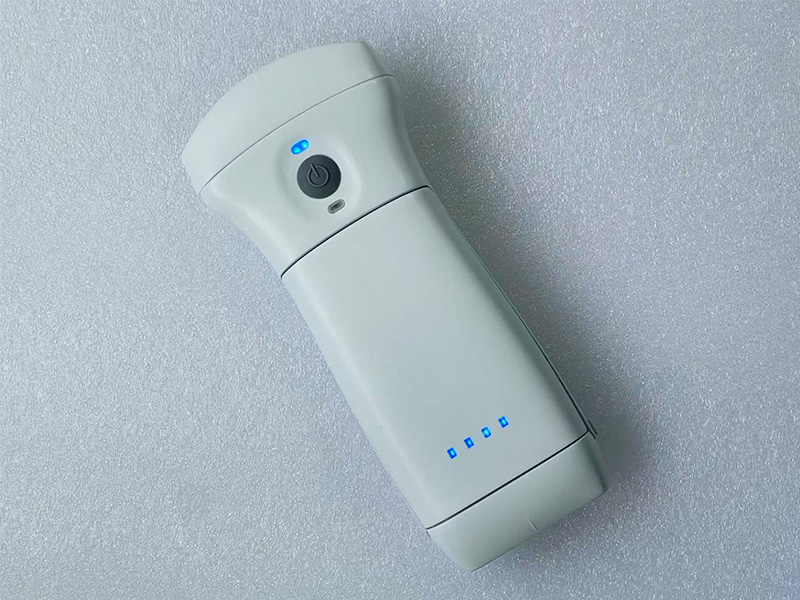
On the equipment and workflow side
5. Gain set by habit, not by the image
Symptom: every scan looks uniformly too dark (structures mush into shadow) or uniformly too bright (texture washed out to grey-white).
Why: gain is the single most-used control, and it is usually set once — or copied from the last person who used the device — and never revisited. Different patients and different tissues need different gain.
Fix: judge gain by the image on screen, not by memory. Increase until tissue texture is clearly differentiated, then back off slightly. If the whole image is dark, raise overall gain; if only the far field is dark, that is a depth-and-frequency problem (habit 2 and 3), not a gain problem.
6. A dirty or damaged probe face
Symptom: persistent shadowing or haze that survives fresh gel and correct technique — on every patient, in the same place.
Why: dried gel, crumbs of glove powder, or a scratched lens coating scatter the sound at the source. Cleaning is also where most lens damage happens: abrasive wipes and sharp objects create permanent defects.
Fix: wipe the probe face with a soft cloth between patients, following your facility's infection control protocol and the manufacturer's cleaning instructions. Inspect the lens under good light once a week. If the coating is visibly damaged, that is a service issue, not a settings issue.
7. Neglecting the display device
Symptom: the image stutters, lags behind probe movement, or the screen looks dim and low-contrast — while the probe itself seems fine.
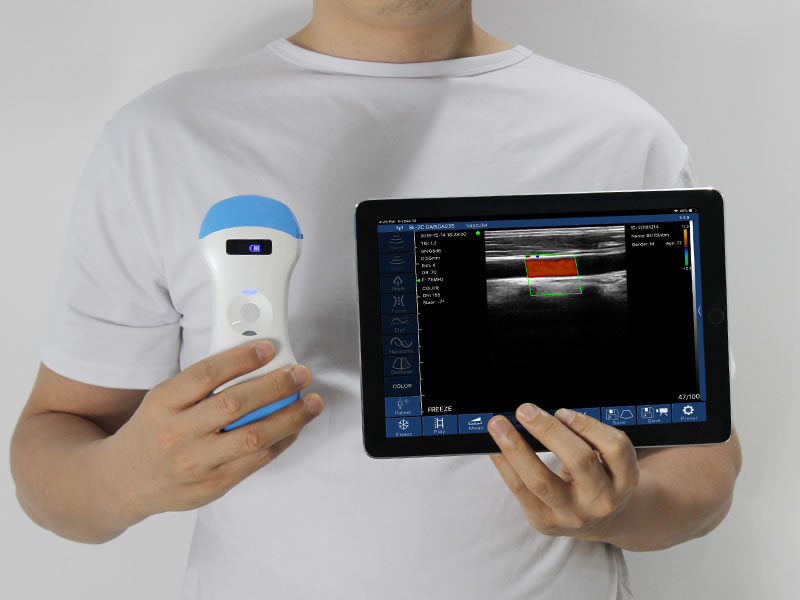
Why: on a wireless handheld system, the phone or tablet is the computer and the monitor. A device in battery-saver mode throttles processing; an outdated app can misbehave; a Wi-Fi channel crowded by other equipment causes transmission lag; a dim screen hides the very contrast you are trying to judge.
Fix: treat the display device as part of the machine. Keep it charged (or use a dedicated clinic device), keep the app updated, turn off power-saving mode during scanning, set screen brightness appropriately, and keep the scanning area off congested Wi-Fi channels where possible. Our guide to what is inside a wireless probe explains why the phone carries so much of the workload.
8. Skipping presets — and skipping the review
Symptom: every exam starts from a generic default, settings get fiddled with mid-scan, and at the end of the session there are no saved images worth keeping.
Why: presets exist so the device starts close to correct for a given exam type. Ignoring them means re-solving the same problem from zero every time. And images that are not saved cannot be reviewed, compared, or attached to the record.
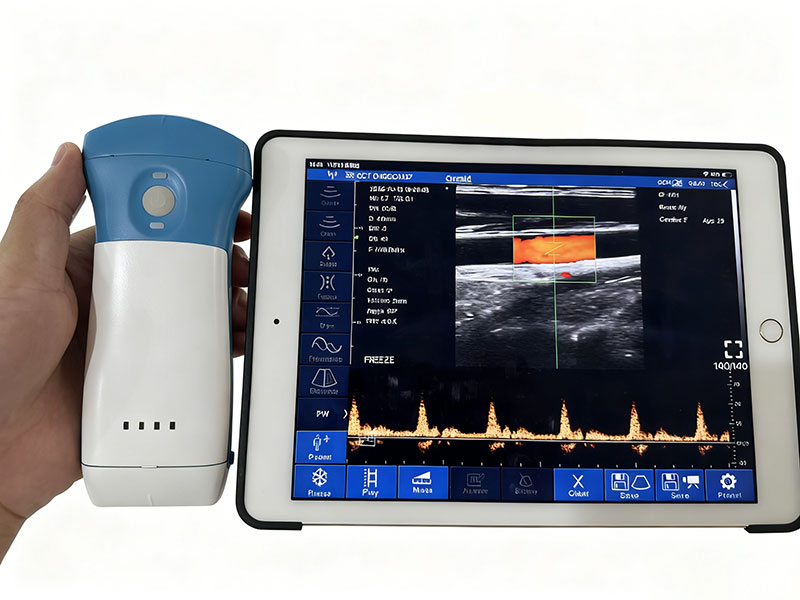
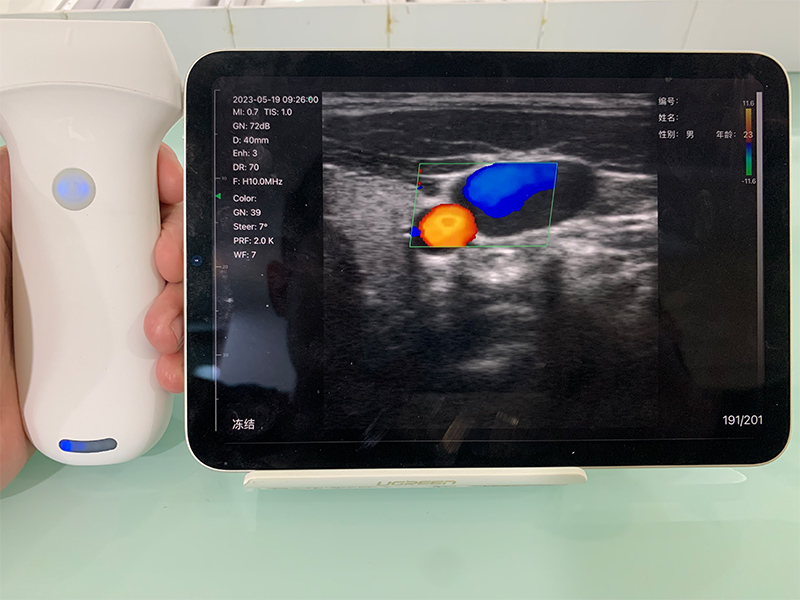
Fix: set up presets for your most common exams once, with help from the supplier if needed. Scan with the preset, adjust only what is genuinely different, and save the key images before moving on — both for the clinical record and for your own learning. For blood-flow work specifically, mode choice matters too; see our explanation of how Doppler detects blood flow.
When it is genuinely not you
Intellectual honesty requires the other side of the ledger. Some image limitations are real, and knowing them prevents wasted time:
Physics. Frequency trade-offs cannot be tuned away — a linear probe will never see deep like a convex one, and vice versa.
Body habitus. Deep abdominal imaging in patients with a larger body habitus is harder for every portable device, and premium cart systems retain an advantage here.
Hardware condition. A probe with a damaged lens, a degraded battery, or a failing Wi-Fi module needs service. If poor quality persists across every patient, every window, after habits 1–7 are corrected, stop adjusting and contact the manufacturer's service team. Our guide to battery and power design covers what to check on the power side.
The five-minute pre-clinic check
| Check | What good looks like |
|---|---|
| Probe face | Clean lens, no dried gel, no visible scratches |
| Display device | Charged, power-saving off, app updated, screen brightness set |
| Gel and wipes | Stocked within arm's reach — not in another room |
| Presets | Your three most common exams configured and named |
| Storage | Image export path confirmed (device storage or DICOM target) |
One final note: fixing habits works best on real scans, not in theory. Pick one habit per session — gel on Monday, depth on Tuesday — rather than trying to change everything at once.
Frequently asked questions
Equipment that rewards good habits
SonoStar builds wireless probe-type portable ultrasound systems — from single-array probes to combined multi-array designs — and supports every unit with preset setup, training material, and service. If image quality is holding your team back, we can help you find out whether the fix is a habit or a configuration.
Disclaimer: This article covers equipment handling and image acquisition technique only. It does not cover image interpretation, diagnosis, or clinical decision-making, which belong to qualified medical professionals under their institution's protocols. Follow your facility's infection control and equipment maintenance policies at all times.
- Pre:How Does a Handheld Ultrasound Work? What's Inside a Wireless Probe
- Next:No more

 Home
 Product
 News
 Contact